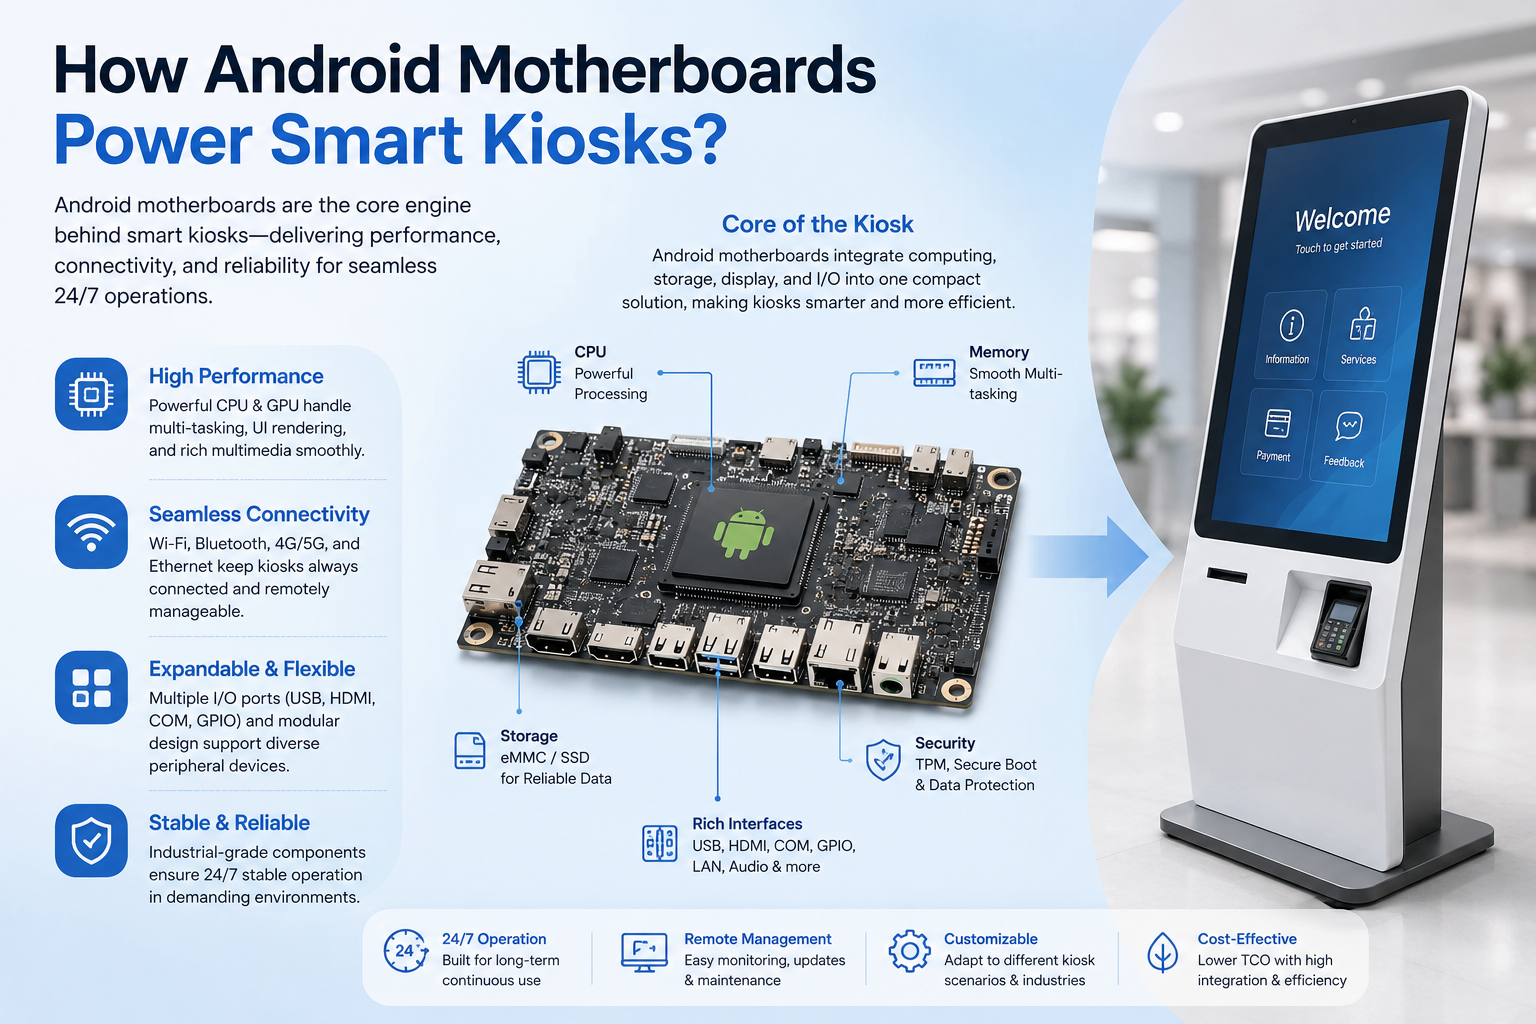
Walk up to a self-checkout at a grocery store, a hotel check-in terminal, or a fast-food ordering station, and you’re interacting with a surprisingly capable piece of embedded hardware. Strip away the enclosure and the branding, and at the core of most modern smart kiosks is an Android SBC (single-board computer) or custom Android motherboard doing the heavy lifting. This post breaks down how that works—covering self-service architecture, touch input, dual-screen configurations, and payment integration.
Self-Service Kiosks: More Computer Than You’d Think
The term “kiosk” undersells what these devices actually are. A modern self-service kiosk is essentially a ruggedized, purpose-built Android computer mounted inside a protective housing. The motherboard handles everything: running the application layer, managing peripherals, maintaining network connectivity, and enforcing kiosk lockdown policies—all simultaneously, all day, every day.
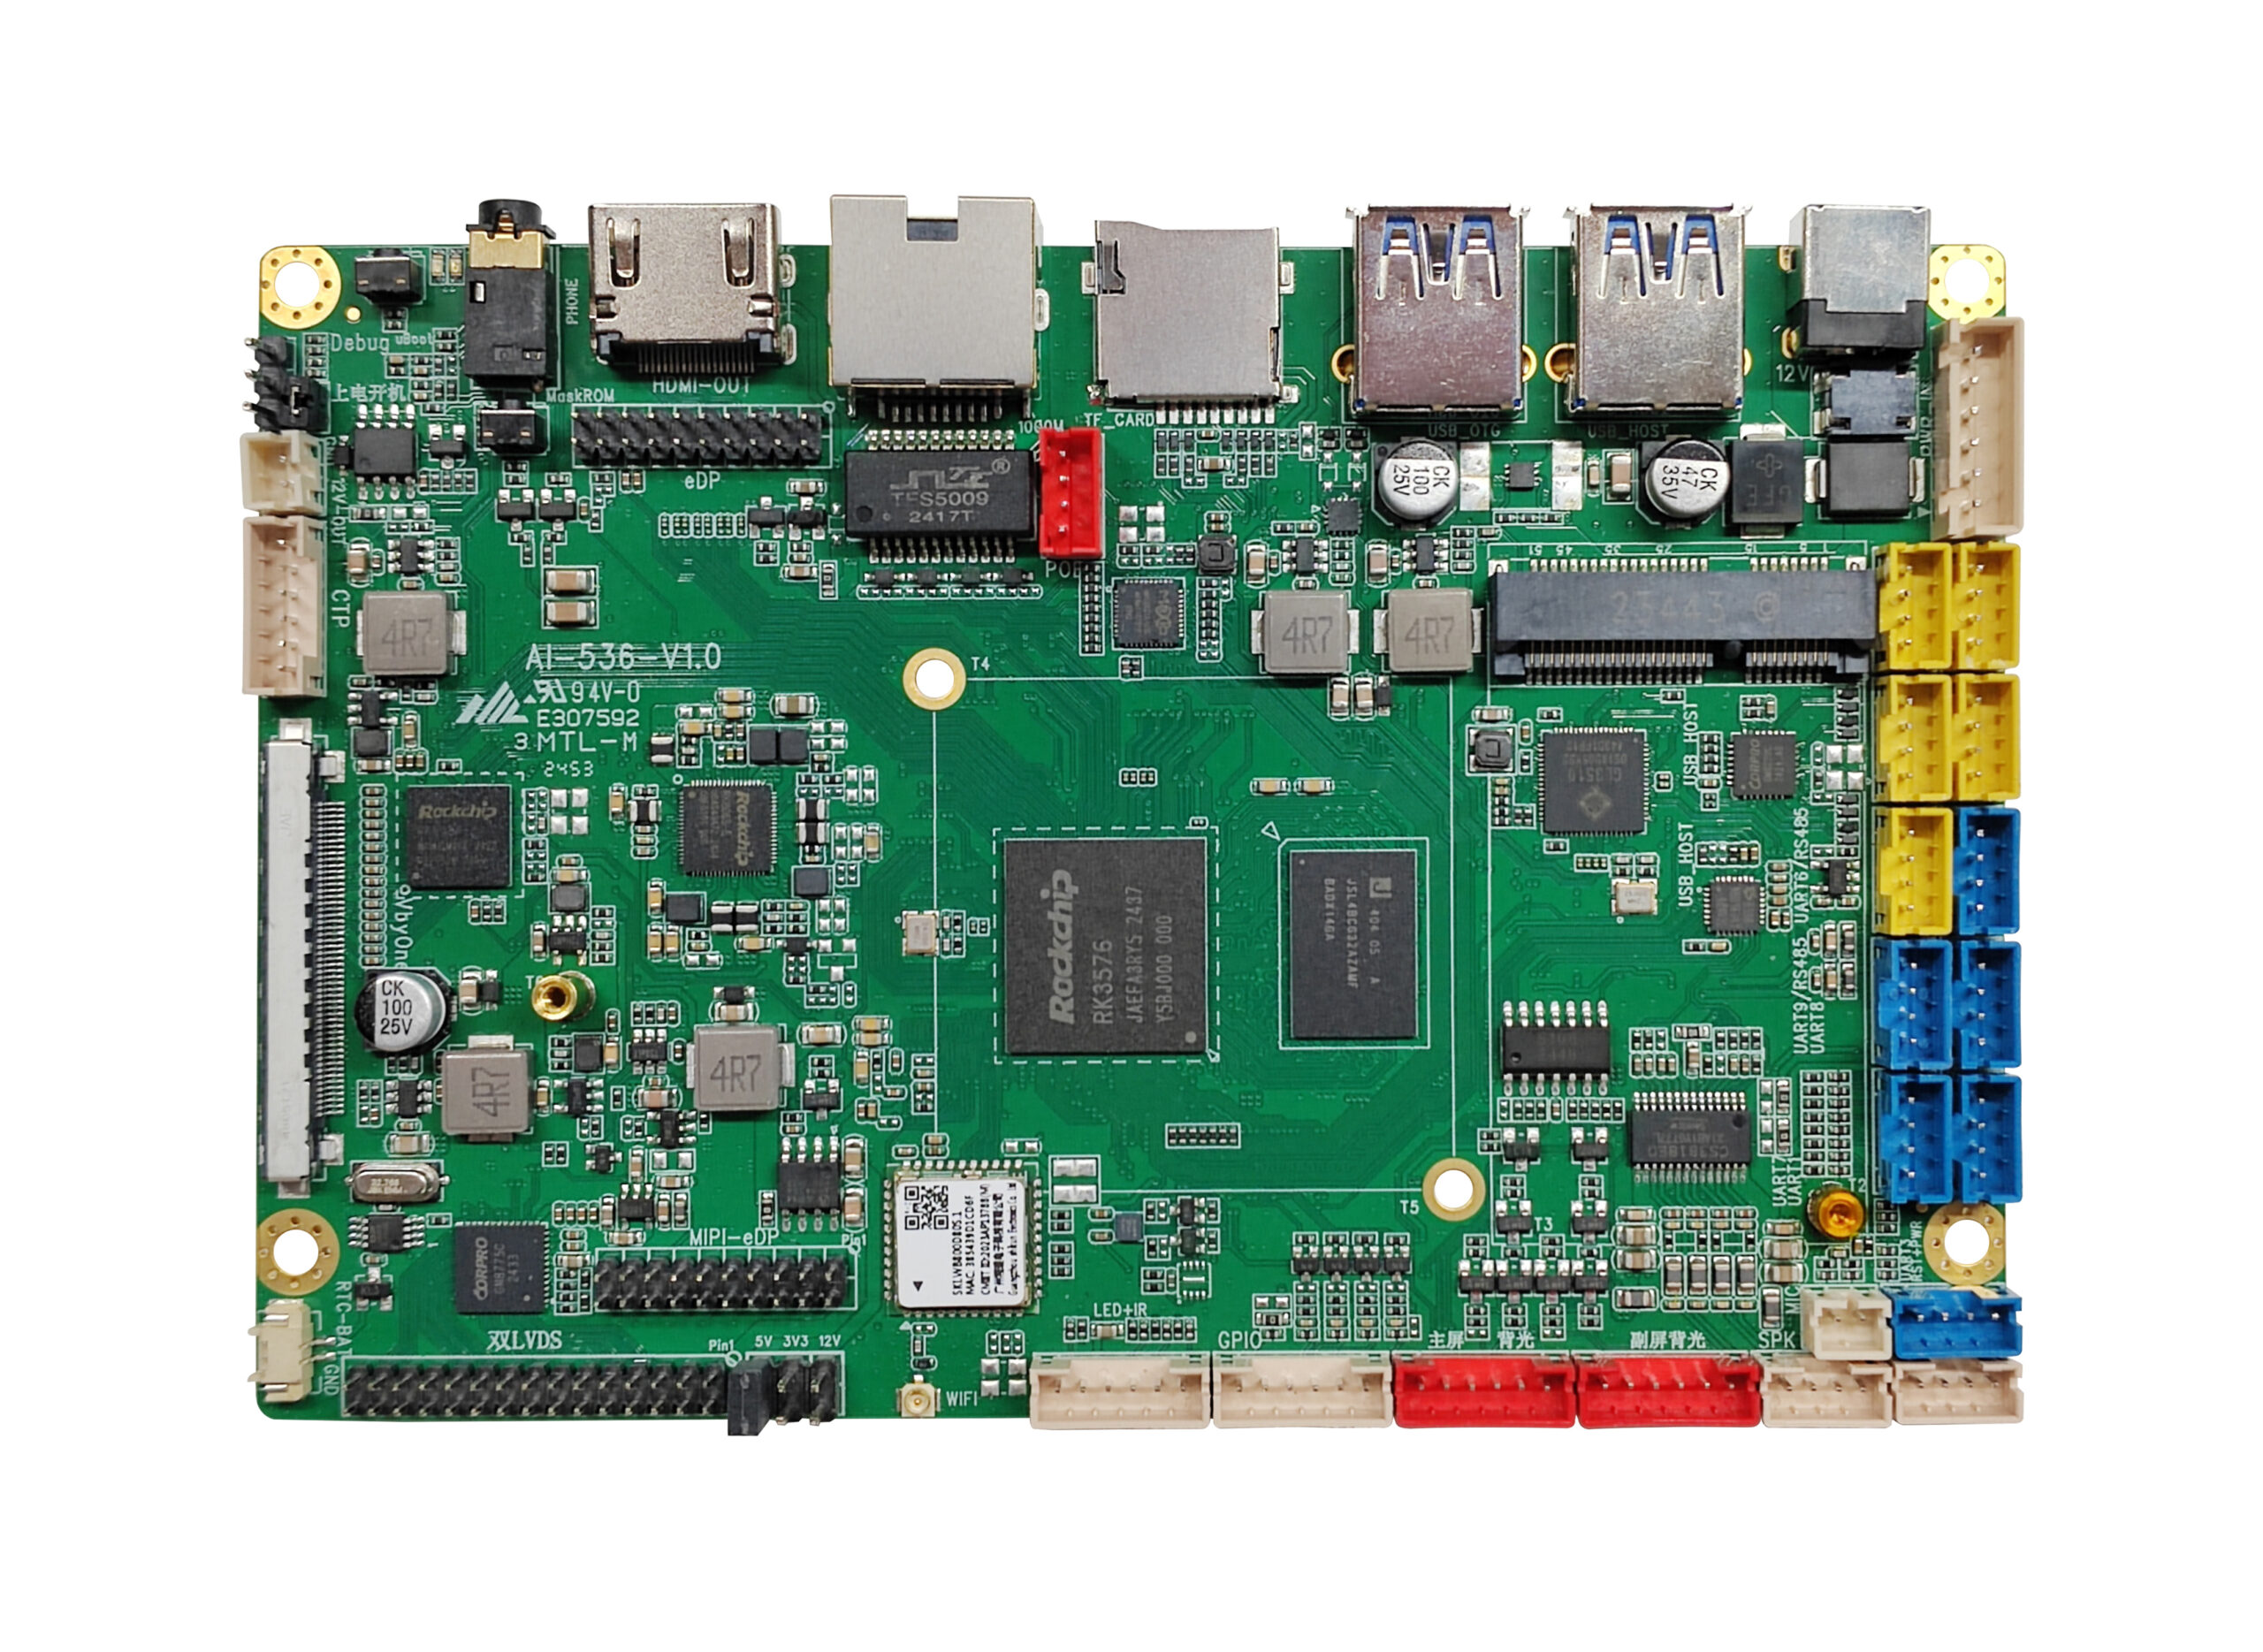
Most Android kiosk boards are built around ARM-based SoCs—Rockchip RK3568, RK3588, or Qualcomm-based chipsets are common choices. These aren’t low-powered microcontrollers; they’re multi-core processors paired with dedicated GPUs, hardware video decoders, and enough RAM (typically 4–8 GB) to run a smooth, responsive UI under real-world load.
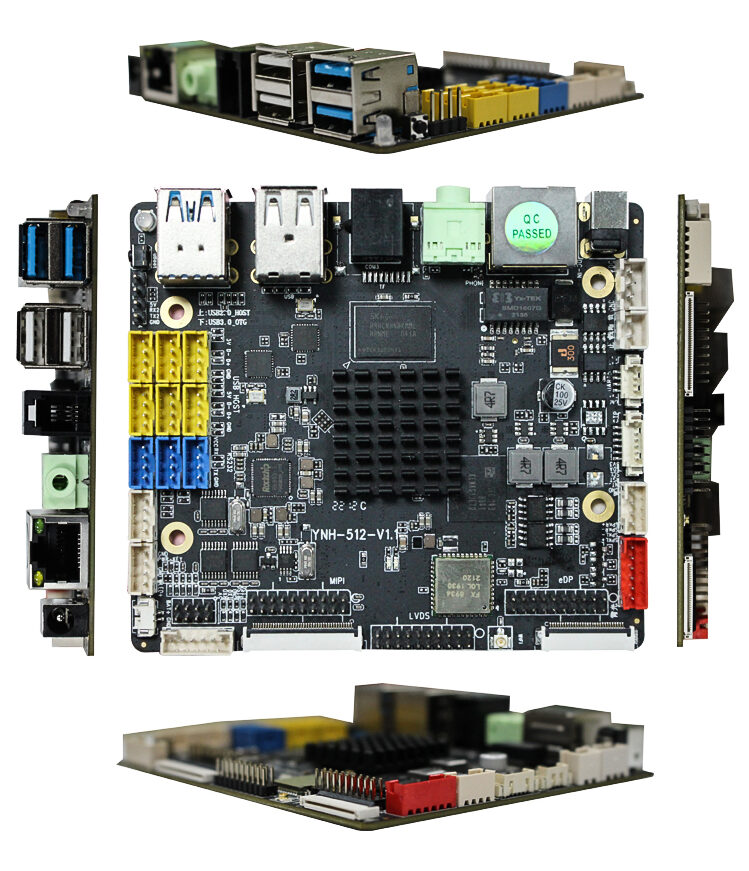
What separates a kiosk board from a general-purpose Android device is the peripheral I/O. You’ll find dedicated UART ports for connecting receipt printers and barcode scanners, USB host ports for card readers and cameras, Ethernet (sometimes dual-port), and GPIO headers for interfacing with physical buttons, sensors, or door locks. The board is designed to be the central hub of a system where many components need to talk to each other reliably.
From a software standpoint, Android is a natural fit. The OS supports a wide range of peripheral drivers, has a mature app ecosystem, and allows OEMs to implement kiosk mode at the OS level—locking the device to a single application, disabling the home button, preventing unauthorized app installs, and surviving reboots without human intervention. Remote device management via MDM (Mobile Device Management) platforms rounds out the picture, giving operators visibility and control over fleets of deployed units.
Touch Screens: Getting Input Right in Public Environments
Touch is the primary interface for almost every kiosk, and getting it right in a public deployment is harder than it looks on paper.
Most kiosk displays use projected capacitive (PCAP) touch technology—the same fundamental tech as your smartphone, but tuned for different conditions. In a kiosk context, that means a thicker cover glass (3–6mm is common for vandal resistance), support for gloved touch, and often 10+ point multitouch even when the actual UX only needs single-point input. The extra sensitivity headroom matters because environmental factors—temperature changes, surface contamination, or users pressing unusually hard—can affect touch accuracy.
The Android motherboard communicates with the touch controller over USB or I²C, depending on the panel. USB is more common for industrial deployments because it’s plug-and-play from the driver side and keeps the signal path simple. The touch driver reports input events to Android’s input subsystem, which then feeds them into the application layer via the standard MotionEvent API. From the app developer’s perspective, it’s just touch—the hardware abstraction layer handles the rest.
One area that often gets overlooked in kiosk touch design is palm rejection and idle detection. Public kiosks see a lot of accidental contact—someone leaning on the screen, a sleeve brushing the surface—so the firmware on the touch controller needs to be tuned to filter that noise without introducing false negatives on legitimate input. Vendors like Goodix, EETI, and Ilitek ship touch controllers specifically characterized for large-format kiosk panels.
The motherboard’s display output typically runs over LVDS or MIPI DSI for integrated panels, with HDMI available for external displays. Getting stable, calibrated touch with accurate screen-to-panel alignment is a calibration step that happens during manufacturing—and it matters, because a few pixels of offset becomes very noticeable at 21–32″ screen sizes.
Dual Screens: One Board, Two Displays
Dual-screen kiosk configurations are increasingly common, and Android motherboards are well-positioned to support them. A customer-facing primary display handles the main interaction, while a secondary screen—often mounted on the operator side or as an overhead advertising panel—runs independent content.
The engineering challenge is managing two displays from a single SoC without degrading performance on either. Higher-end platforms like the Rockchip RK3588 support multi-display output natively, with independent display controllers driving separate framebuffers. Android 10 and later has built-in support for secondary displays via the Presentation API, which lets an application push a different activity to the second screen without hacks or third-party workarounds.
In practice, common configurations include:
- Primary + secondary independent displays: Each screen shows a different app or activity. The main board manages both via Android’s multi-display framework.
- Extended desktop: Both screens are treated as one logical canvas, useful for panoramic UIs or large-format digital signage.
- Mirror + overlay: One screen mirrors the primary, sometimes with an overlay layer for branding or promotional content. Useful for customer-facing/operator-facing split setups.
Power delivery is worth mentioning here. Driving two displays—especially high-brightness panels in the 700–1000 nit range needed for outdoor-adjacent environments—puts real load on the system. Board designers need to account for thermal dissipation and stable power delivery at the SoC level, typically through stepped-down DC-DC converters with adequate current margins. A board that runs fine with one display may throttle or reboot intermittently with two if the power budget wasn’t designed for it.
Payment Integration: Where Reliability Is Non-Negotiable
Payment is the most consequential function a kiosk performs, and the hardware integration story reflects that.
Most kiosks connect to certified payment terminals (like Ingenico or Verifone devices) rather than implementing payment acceptance directly on the Android board. This is intentional—PCI DSS compliance is significantly easier to scope when the cardholder data environment is isolated to a dedicated, certified hardware terminal. The Android motherboard communicates with the payment terminal over USB or RS-232, sending transaction commands and receiving status responses via the terminal’s SDK or a serial protocol.
For contactless-heavy deployments, some designs use certified payment modules that mount inside the kiosk enclosure and present only a reader surface through the housing. NFC-based tap-to-pay, QR code scanning (handled by a camera or dedicated scanner connected to the Android board), and magnetic stripe reading are common modalities depending on the market.
The Android side manages the transaction flow: building the payment request, handing off to the terminal, waiting for the response, and updating the UI accordingly. Error handling here needs to be robust—network timeouts, partial transaction states, and device disconnects all need defined recovery paths. A kiosk that hangs after a failed payment isn’t just a bad user experience; it’s a business problem.
For cash-accepting kiosks, bill validators and coin acceptors connect via UART or USB and speak standard protocols like SSP (Smiley Secure Protocol) or MDB (Multi-Drop Bus). The Android application manages the cash acceptance state machine—enabling the validator, tracking inserted bills, issuing change commands—while the board’s UART or USB interfaces handle the physical communication.
FAQ
Q:1.What is the minimum order quantity (MOQ)?
A:We support PCBA sampling with a minimum order of 1 piece, as well as mass production. The MOQ can be flexibly adjusted according to the project.
Q:2.Do you support OEM/ODM manufacturing?
A:Yes, we offer PCBA manufacturing and material supply, OEM/ODM customization services, and can provide a complete one-stop solution to meet your needs.
Q:3.Can you provide a sample?
A:Sure
Q:4.How do I get a quote?
A:You can contact us via the website form, email, or WhatsApp, and we will provide a quote within 24 hours.
Q:5. How will you deliver my goods to me?
A: We ship by air and sea generally. In the mean time, we cooperate with international expresses such as DHL, UPS, FedEx, TNT to enable our customers to get their goods rapidly.
Company website:https://ynhpcba.com/
FACEBOOK:Shenzhen Innohi technology Ltd